Using Harlequin
To follow this tutorial, simply run Harlequin with no arguments to open an in-memory DuckDB database:
$ harlequinGetting Oriented
Once you run Harlequin from the command line, it will open in your terminal in “application mode”. This means that instead of showing your shell, your terminal will display Harlequin’s interface, and Harlequin will receive all input into your terminal, including clicks. Immediately, it should look like this:
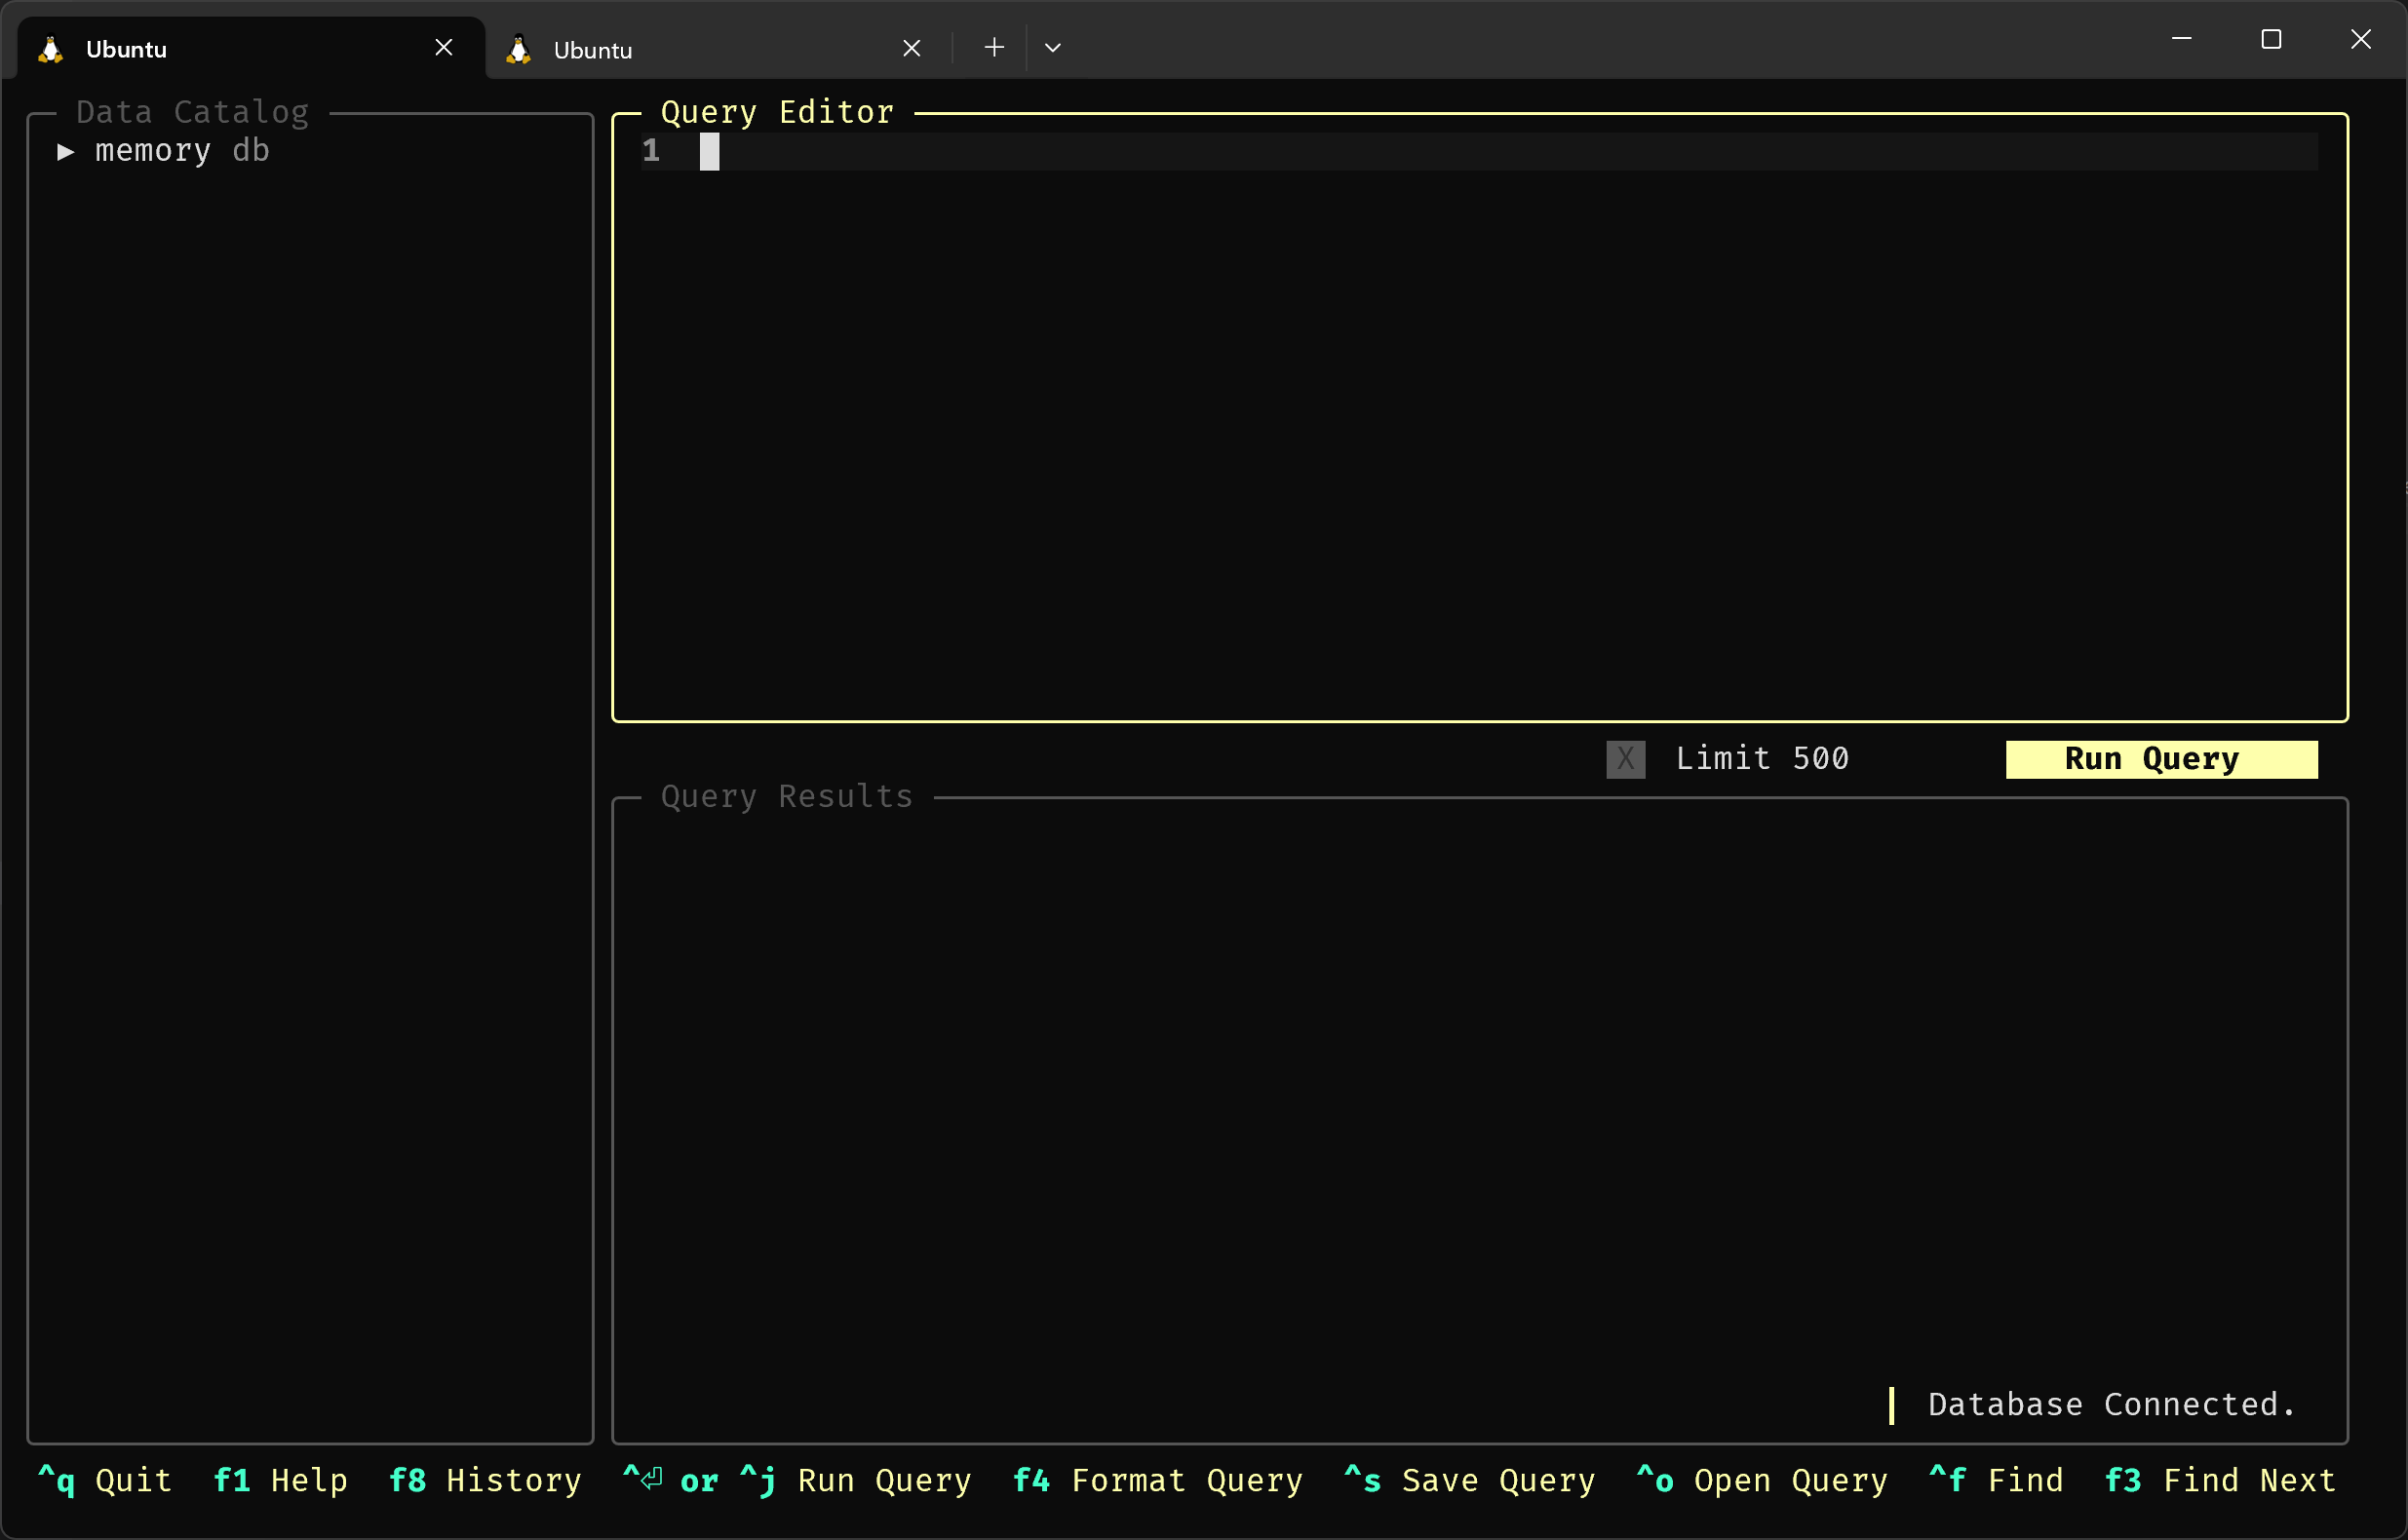
Harlequin’s interface has 5 main components:
- Data Catalog: The left-hand pane is a data catalog. It shows the objects in the currently-connected database(s) in an interactive tree.
- Query Editor: The top pane on the right side of the screen in the Query Editor. It is a full-featured text editor with syntax highlighting for SQL, autocomplete, and support for multiple buffers in tabs.
- Results Viewer: Under the Query Editor is the Results Viewer. The results viewer displays the results of
selectstatements in a high-performance data table powered by Apache Arrow. - Run Query Bar: Between the Query Editor and Results Viewer, the Run Query Bar houses a few useful interactive elements for running queries, limiting results, and managing transactions.
- Footer: At the bottom of the screen is the Footer, which displays a subset of currently-active key bindings and their actions. These actions are clickable.
Executing a Query
The Query Editor should already have the focus of the keyboard, which is why it is outlined in yellow. Type or copy-paste the following SQL into the Query Editor, and then press ctrl+enter.
select * from duckdb_functions()This should execute the query, and the results should be shown in the Results Viewer.
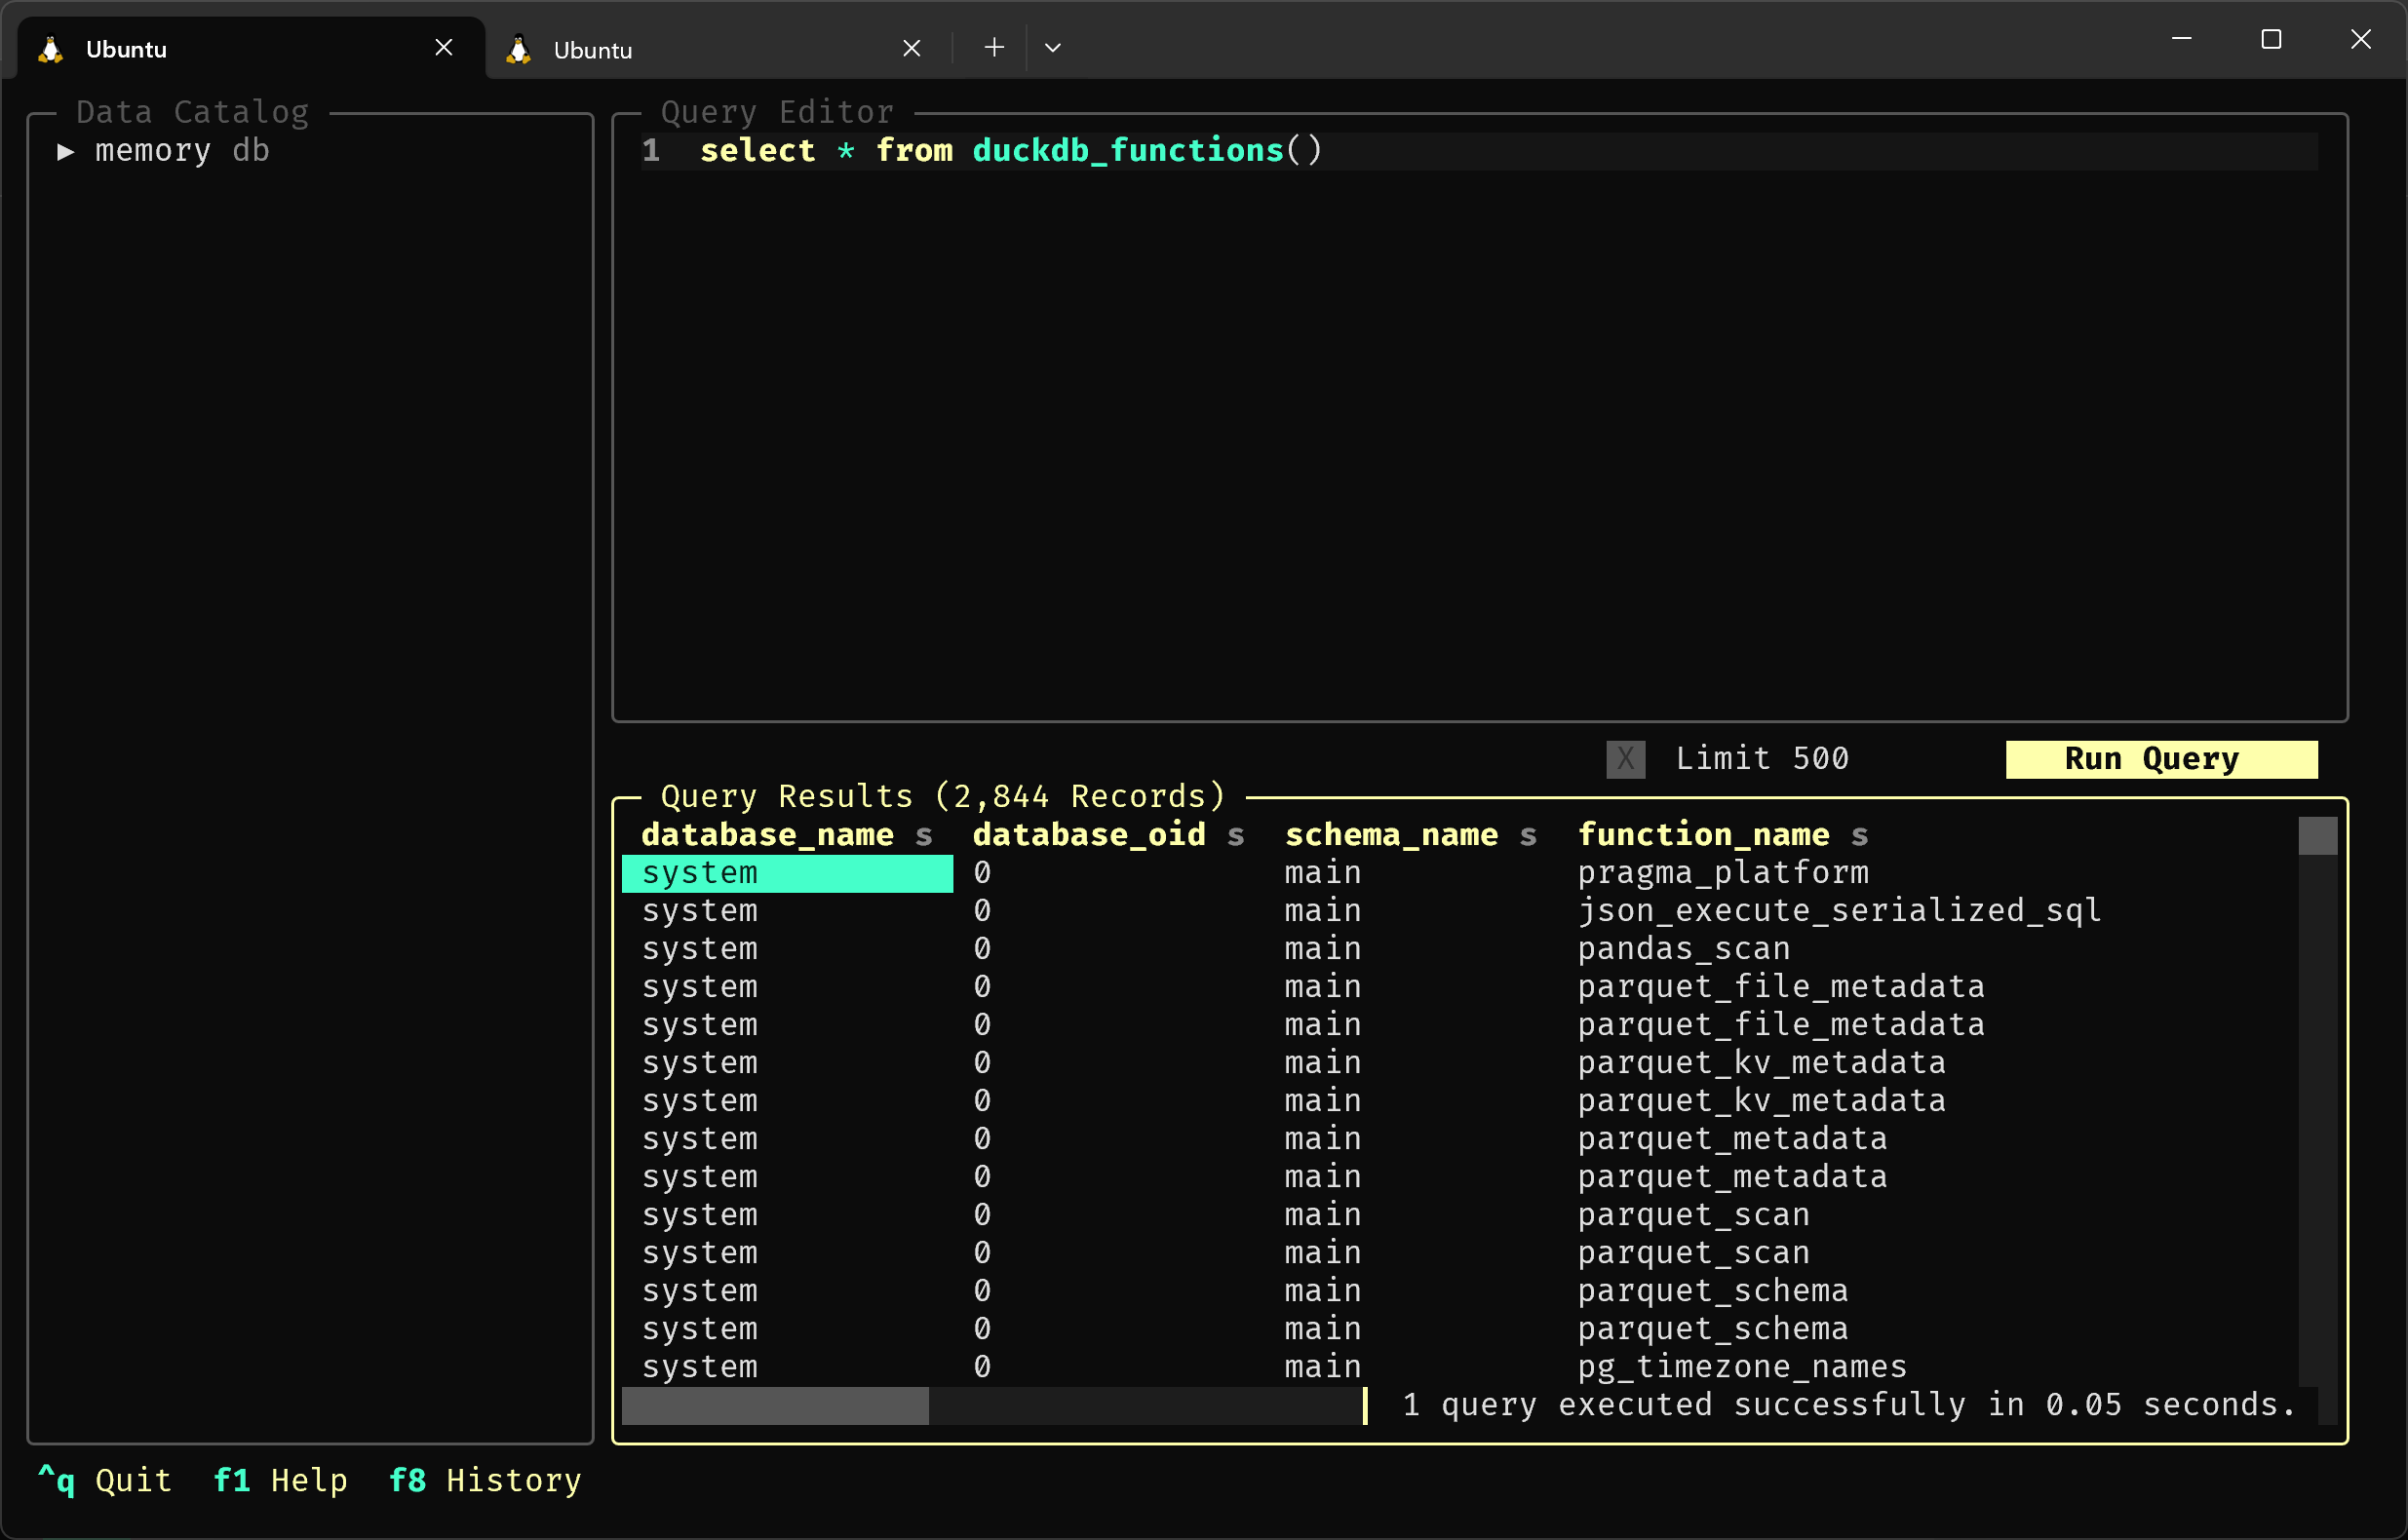
 Tip
TipThe Results Viewer now has the keyboard’s focus. You can scroll through the results using the arrow keys, tab, ctrl+right, pgDn, end, and more.
There is a lot of data here, so press F10 to enter full-screen mode.
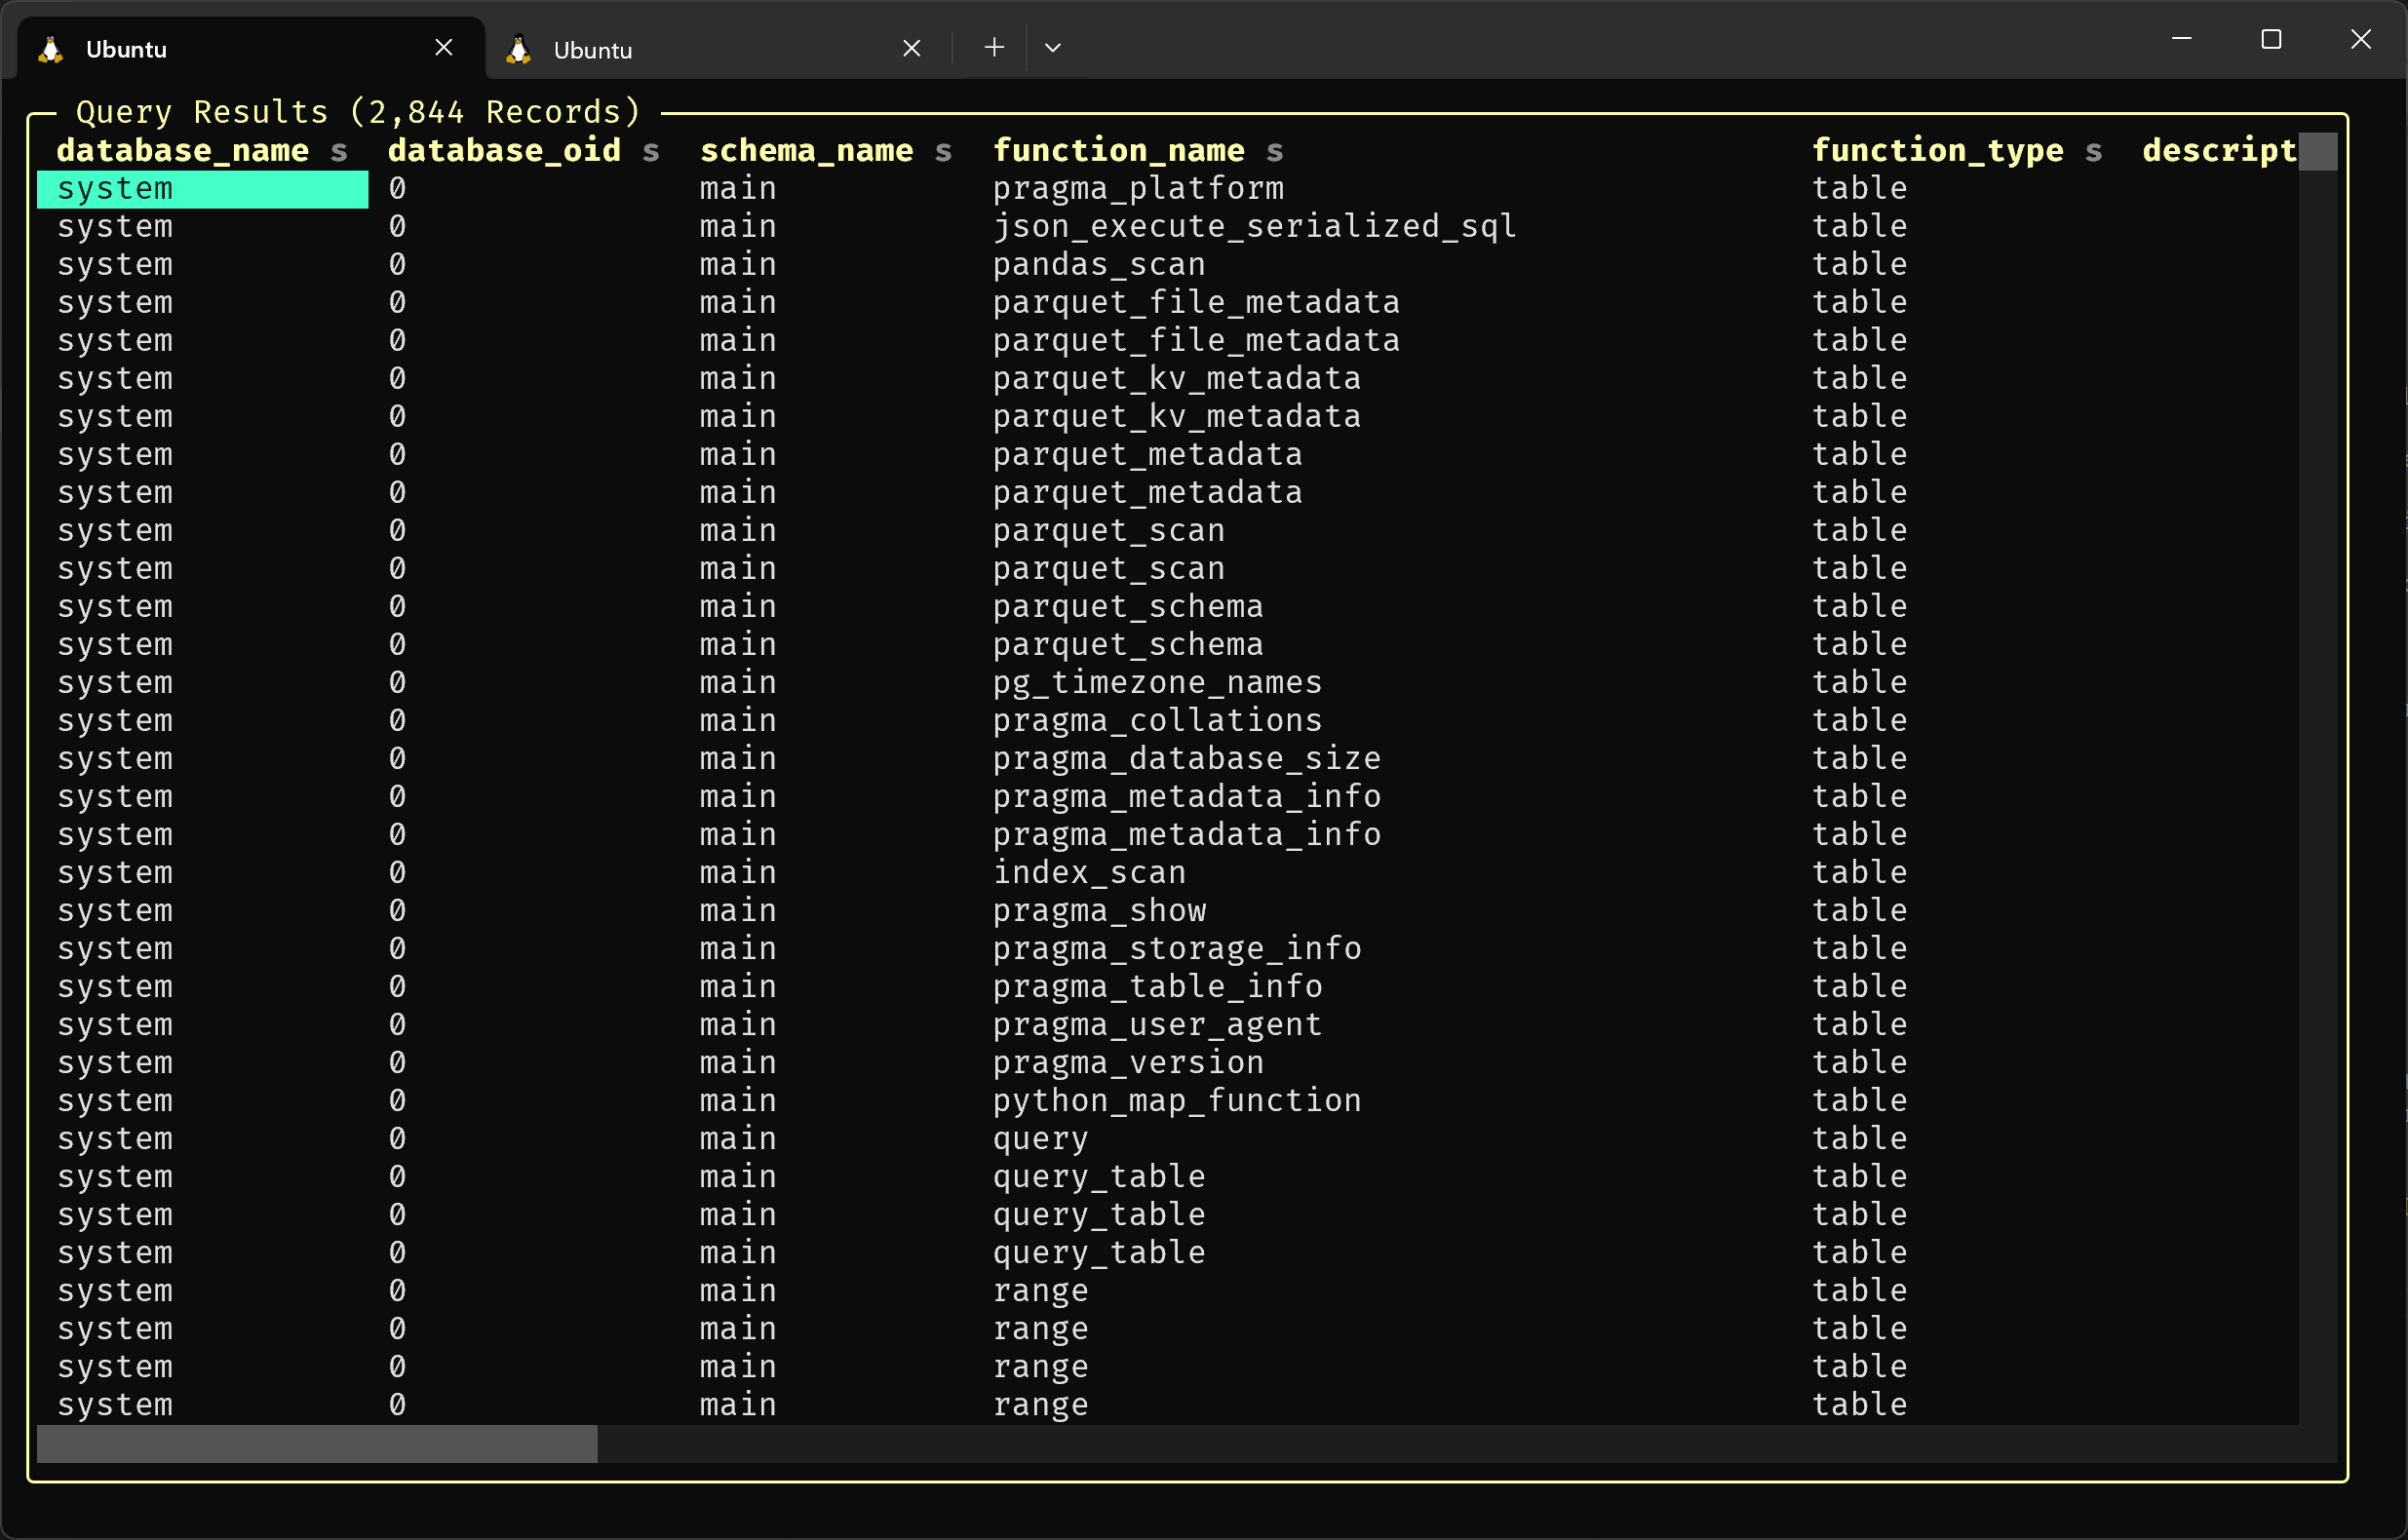
When you are finished in full-screen mode, press F10 again to return to the original view.
TipUsing the Data Catalog
Our Catalog is currently empty; let’s put something in it by executing another query. Press F2 to focus the Query Editor, then ctrl+w to clear the old query, and then type or paste the following query, and run it with ctrl+enter:
create table foo as select * from duckdb_functions()Now focus on the Data Catalog by pressing F6. memory is the name of our database; press enter or space to expand this item and show its only schema, called main (these are both DuckDB defaults for in-memory databases). Press down and enter again to expand the main schema, and do that one more time to expand the table foo we just created, showing its columns.
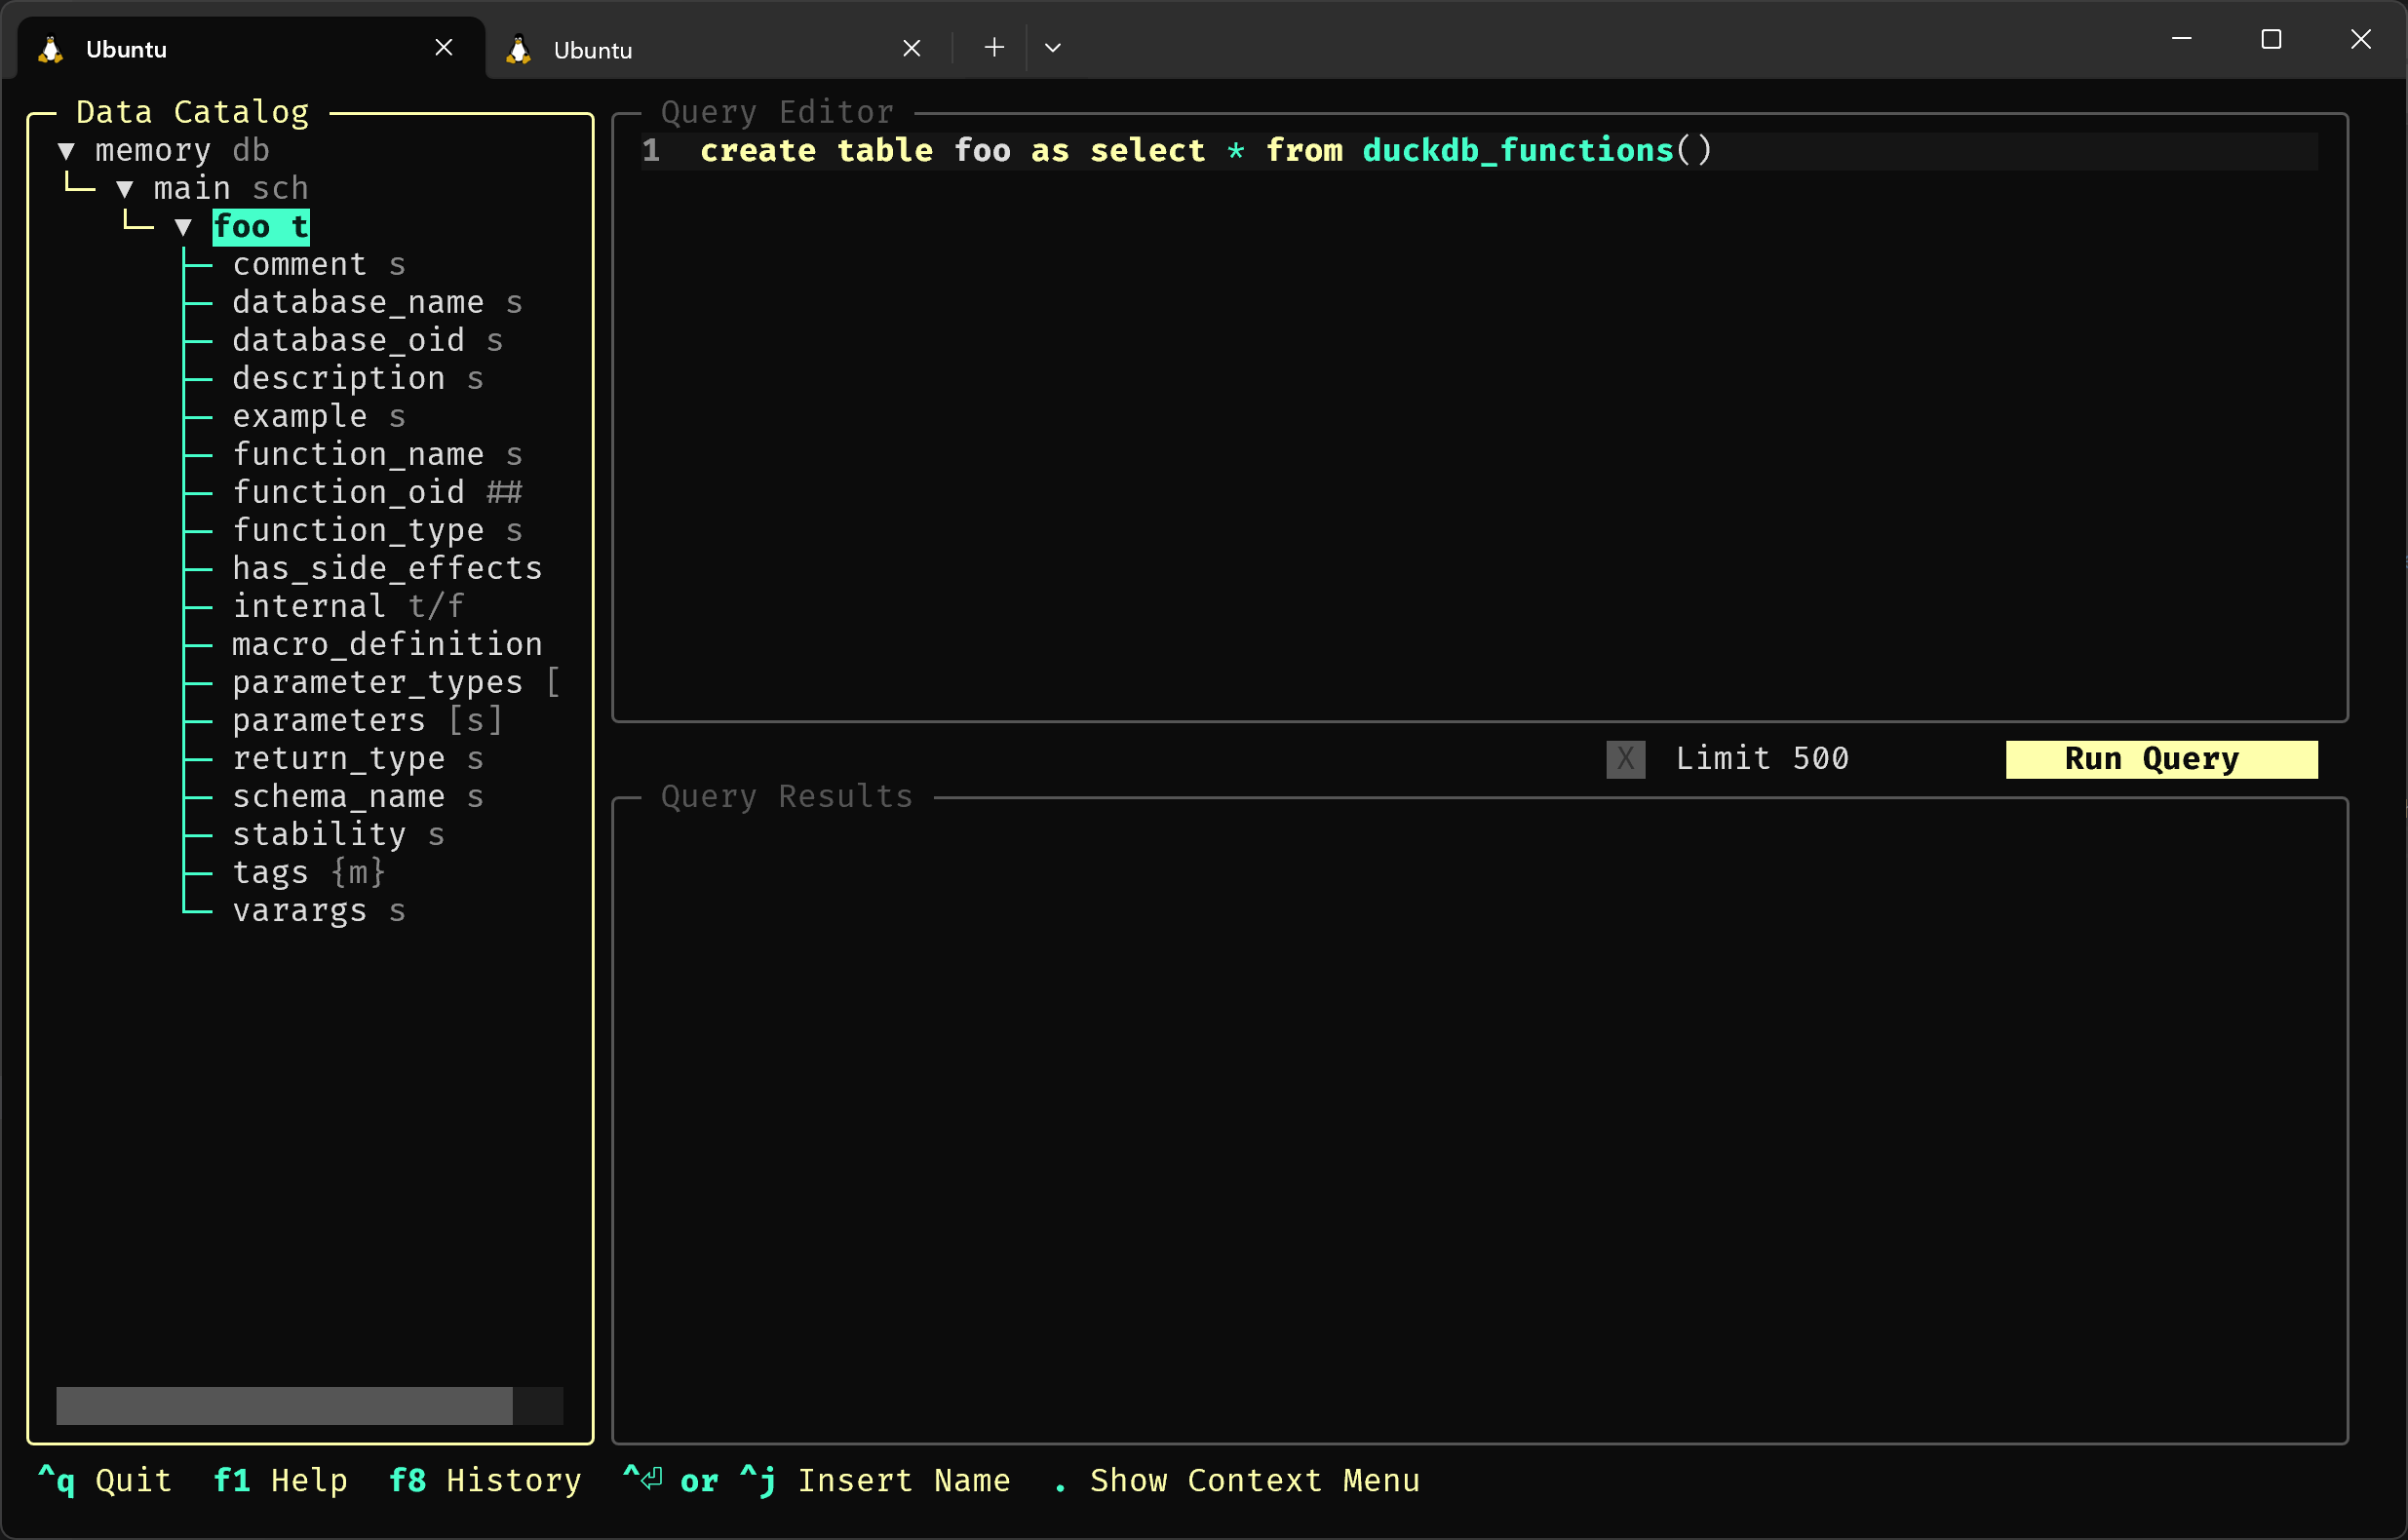
Next to the names of objects, in dimmed text you can see an indication of their types. These types are defined by each adapter; typically s is for string, # is for int, ## is for big int, and so forth. The DuckDB adapter even labels complex types, like arrays of strings ([s]), maps ({m}), and more.
With the table foo still selected, press . to open the Interactions context menu.
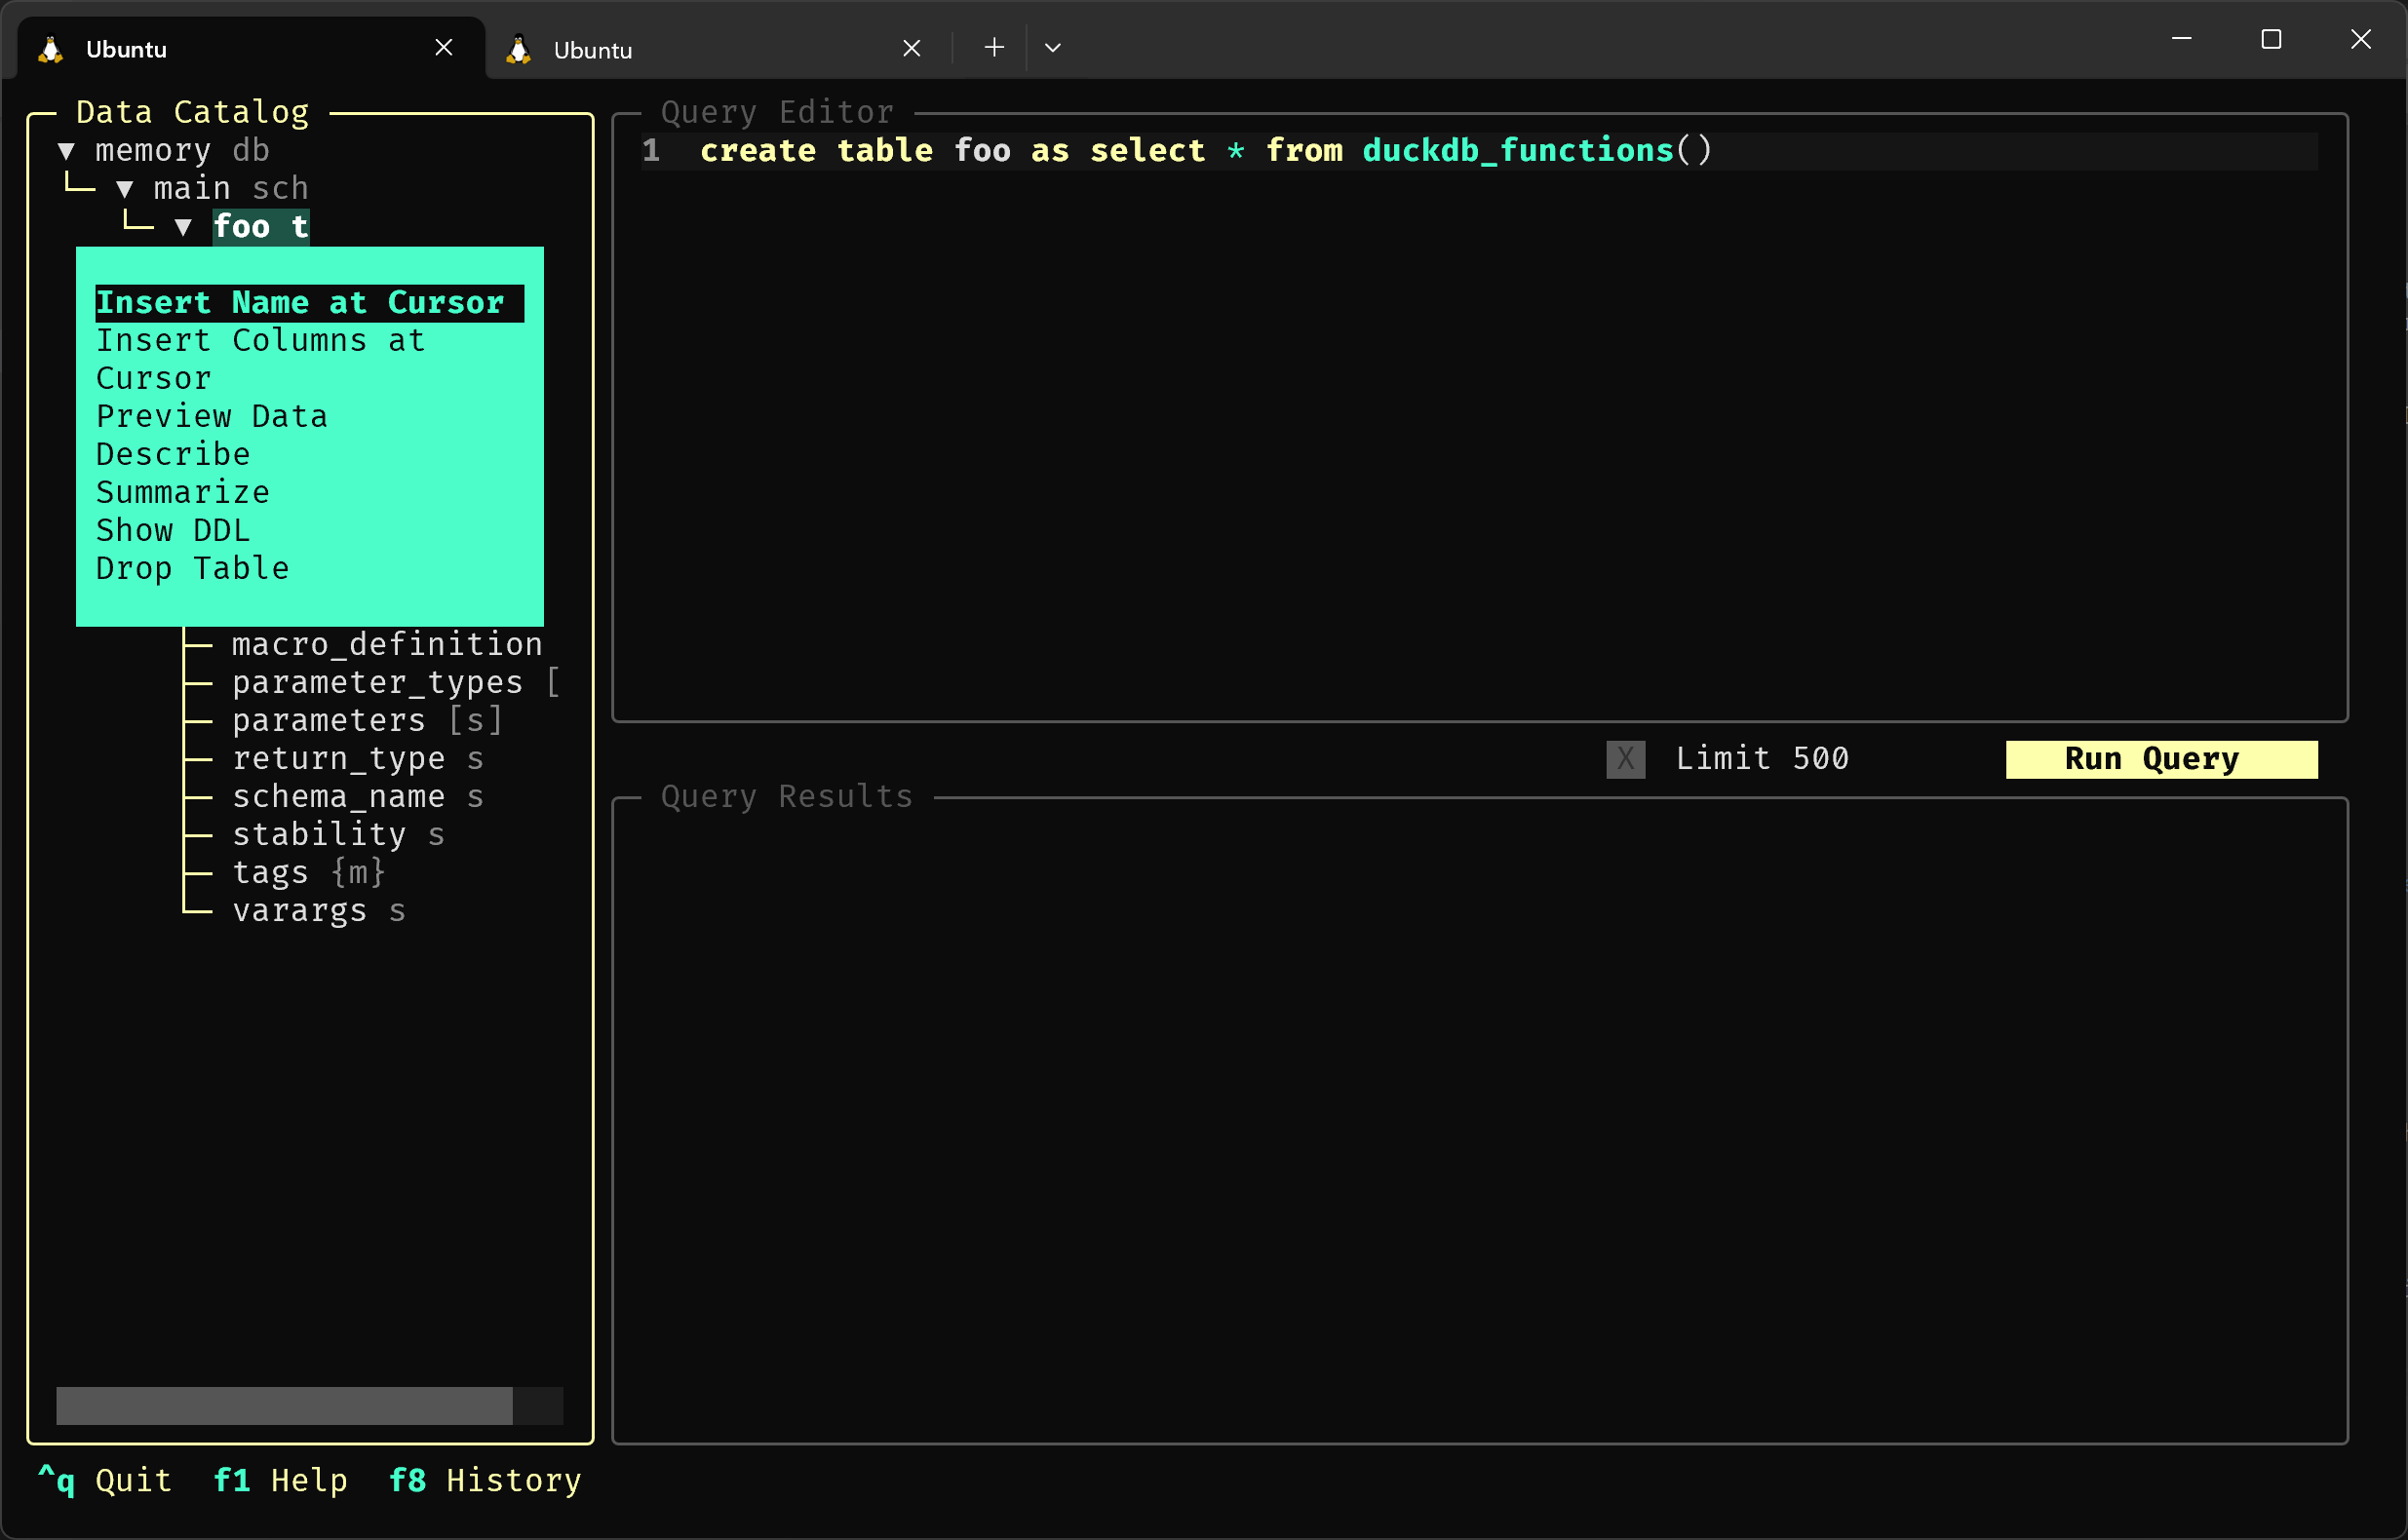
Interactions are scripts that execute in the context of the current selection in the Data Catalog. They are available on all types of objects, not just tables.
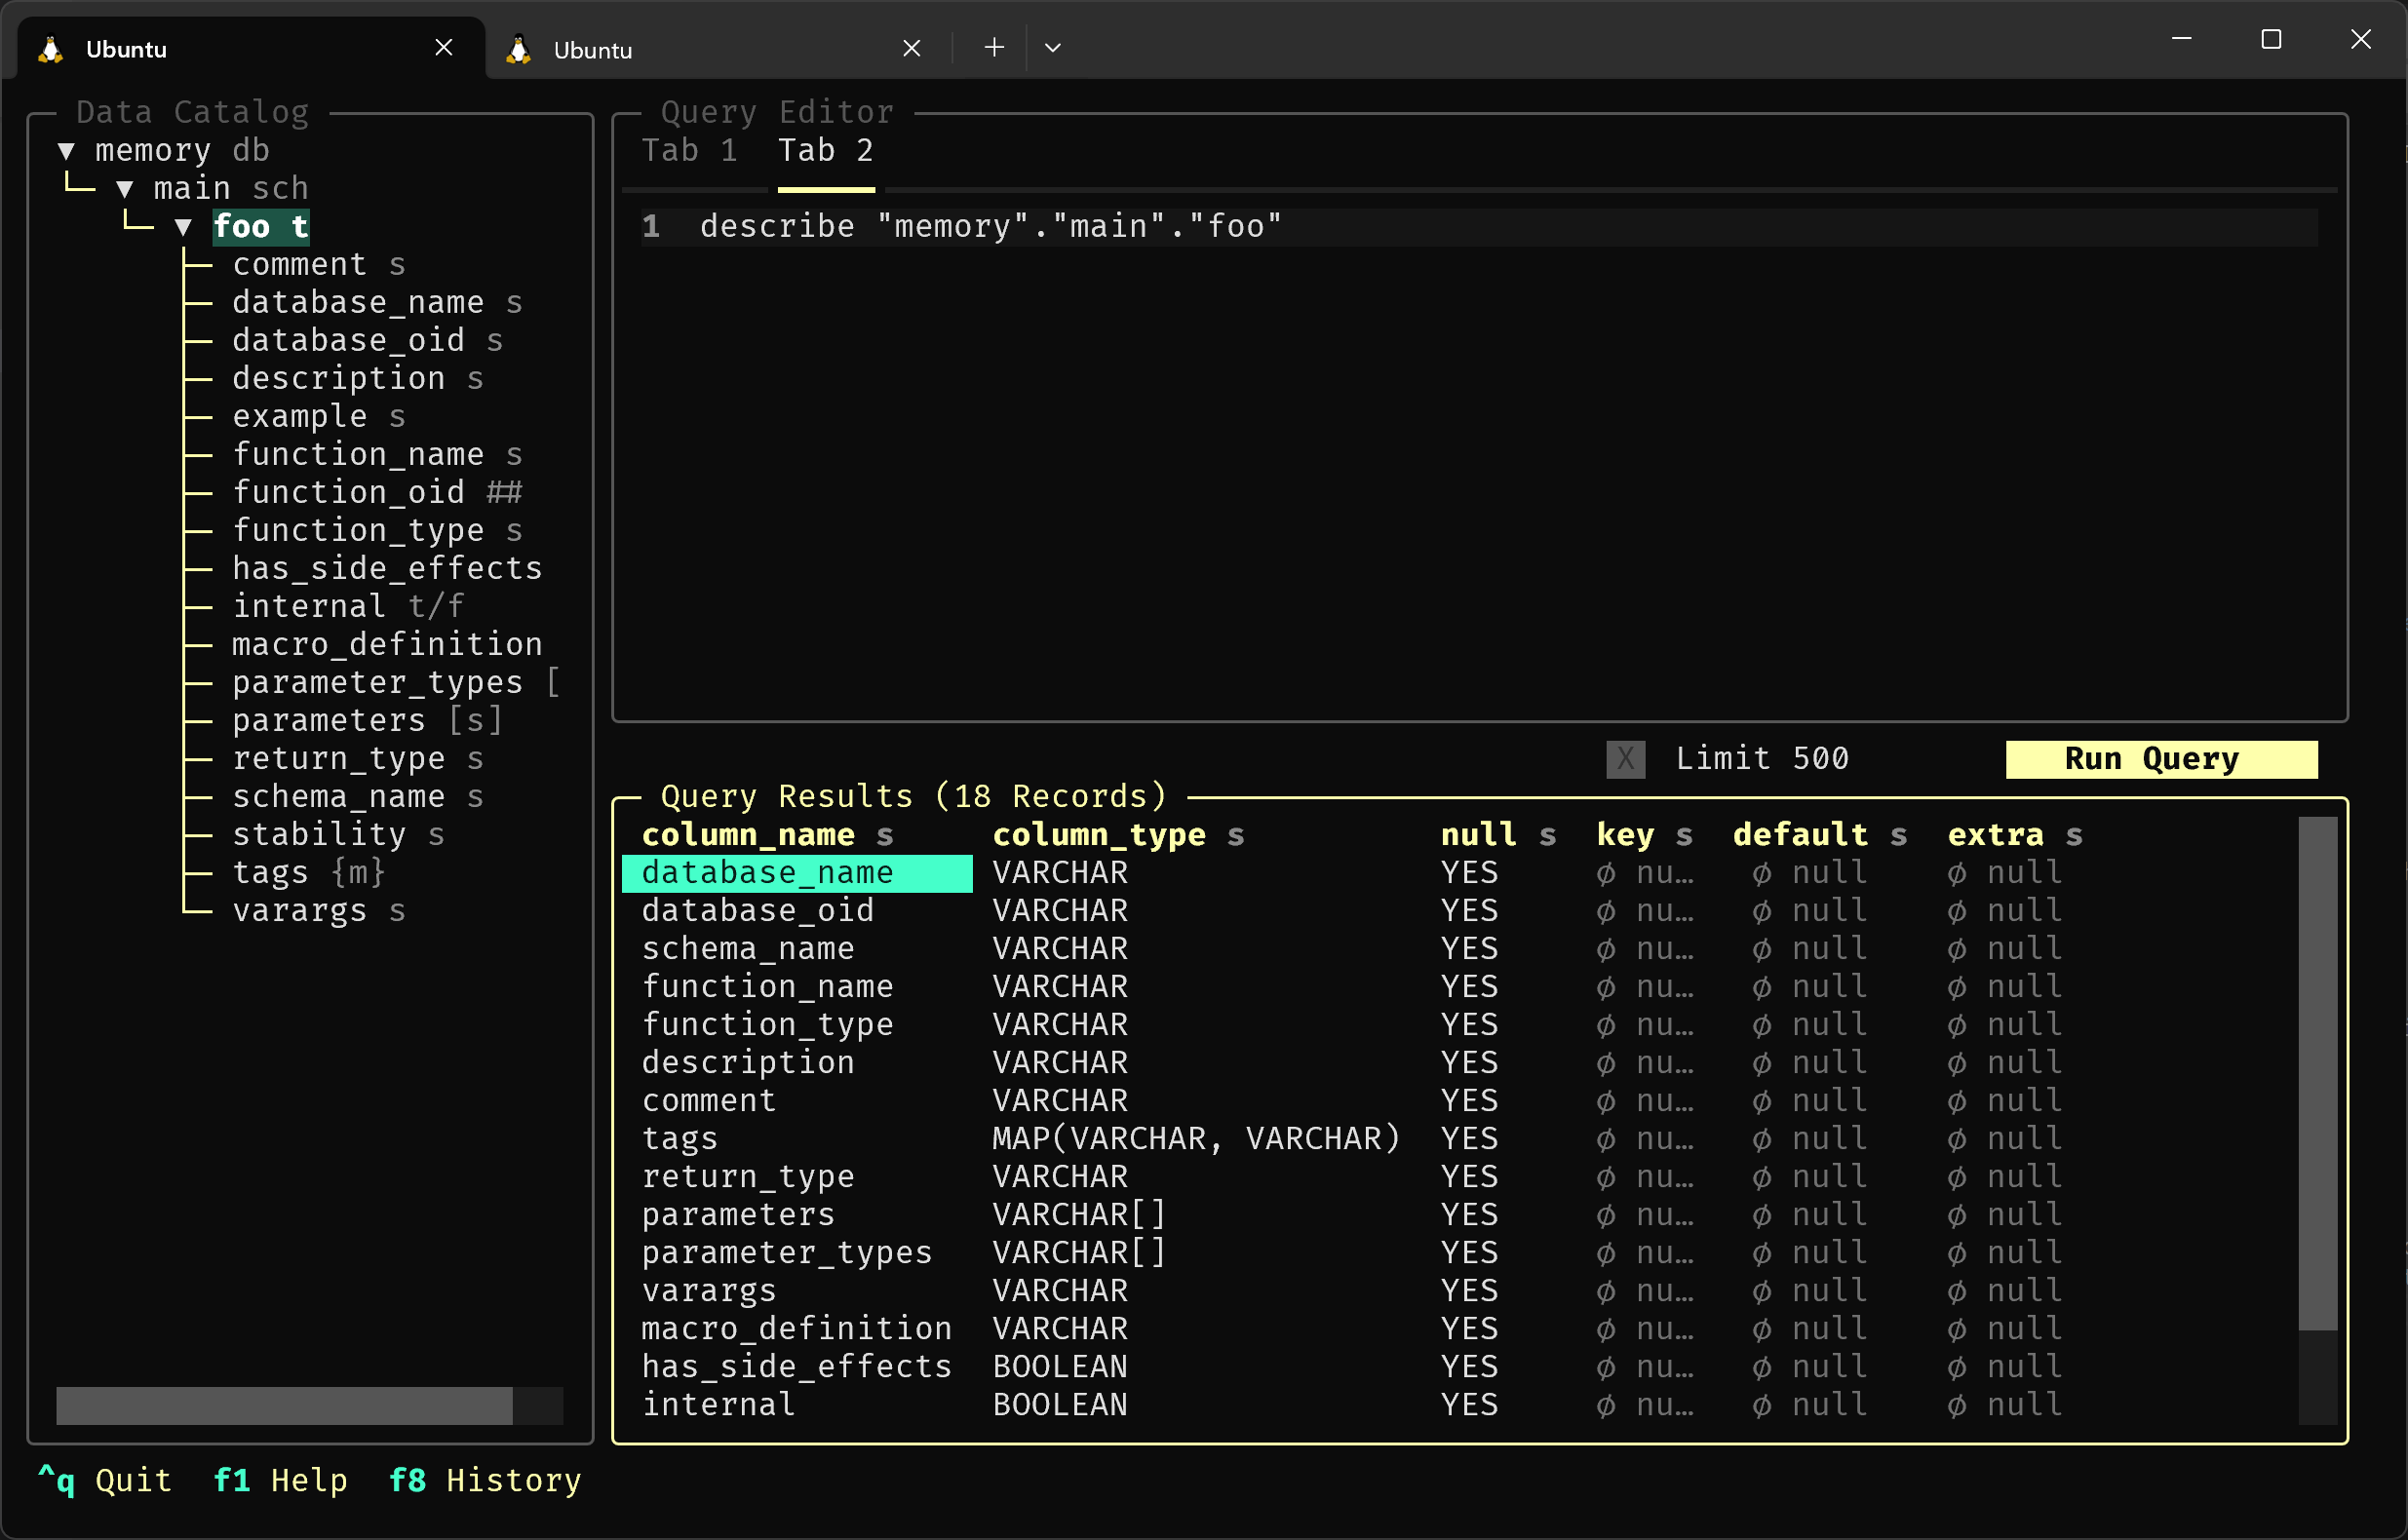
Press down until the Describe interaction is highlighted, then press enter to execute it. You should see a describe query inserted into a new tab in the Query Editor. Press ctrl+enter to execute the query, which will display the schema of foo in the Results Viewer.
Using the Query Editor
Press F2 to return the focus to the Query Editor. Now press ctrl+n to open a new buffer in a third tab.
Type sel, and notice that an autocomplete menu appears, including exact and fuzzy matches.
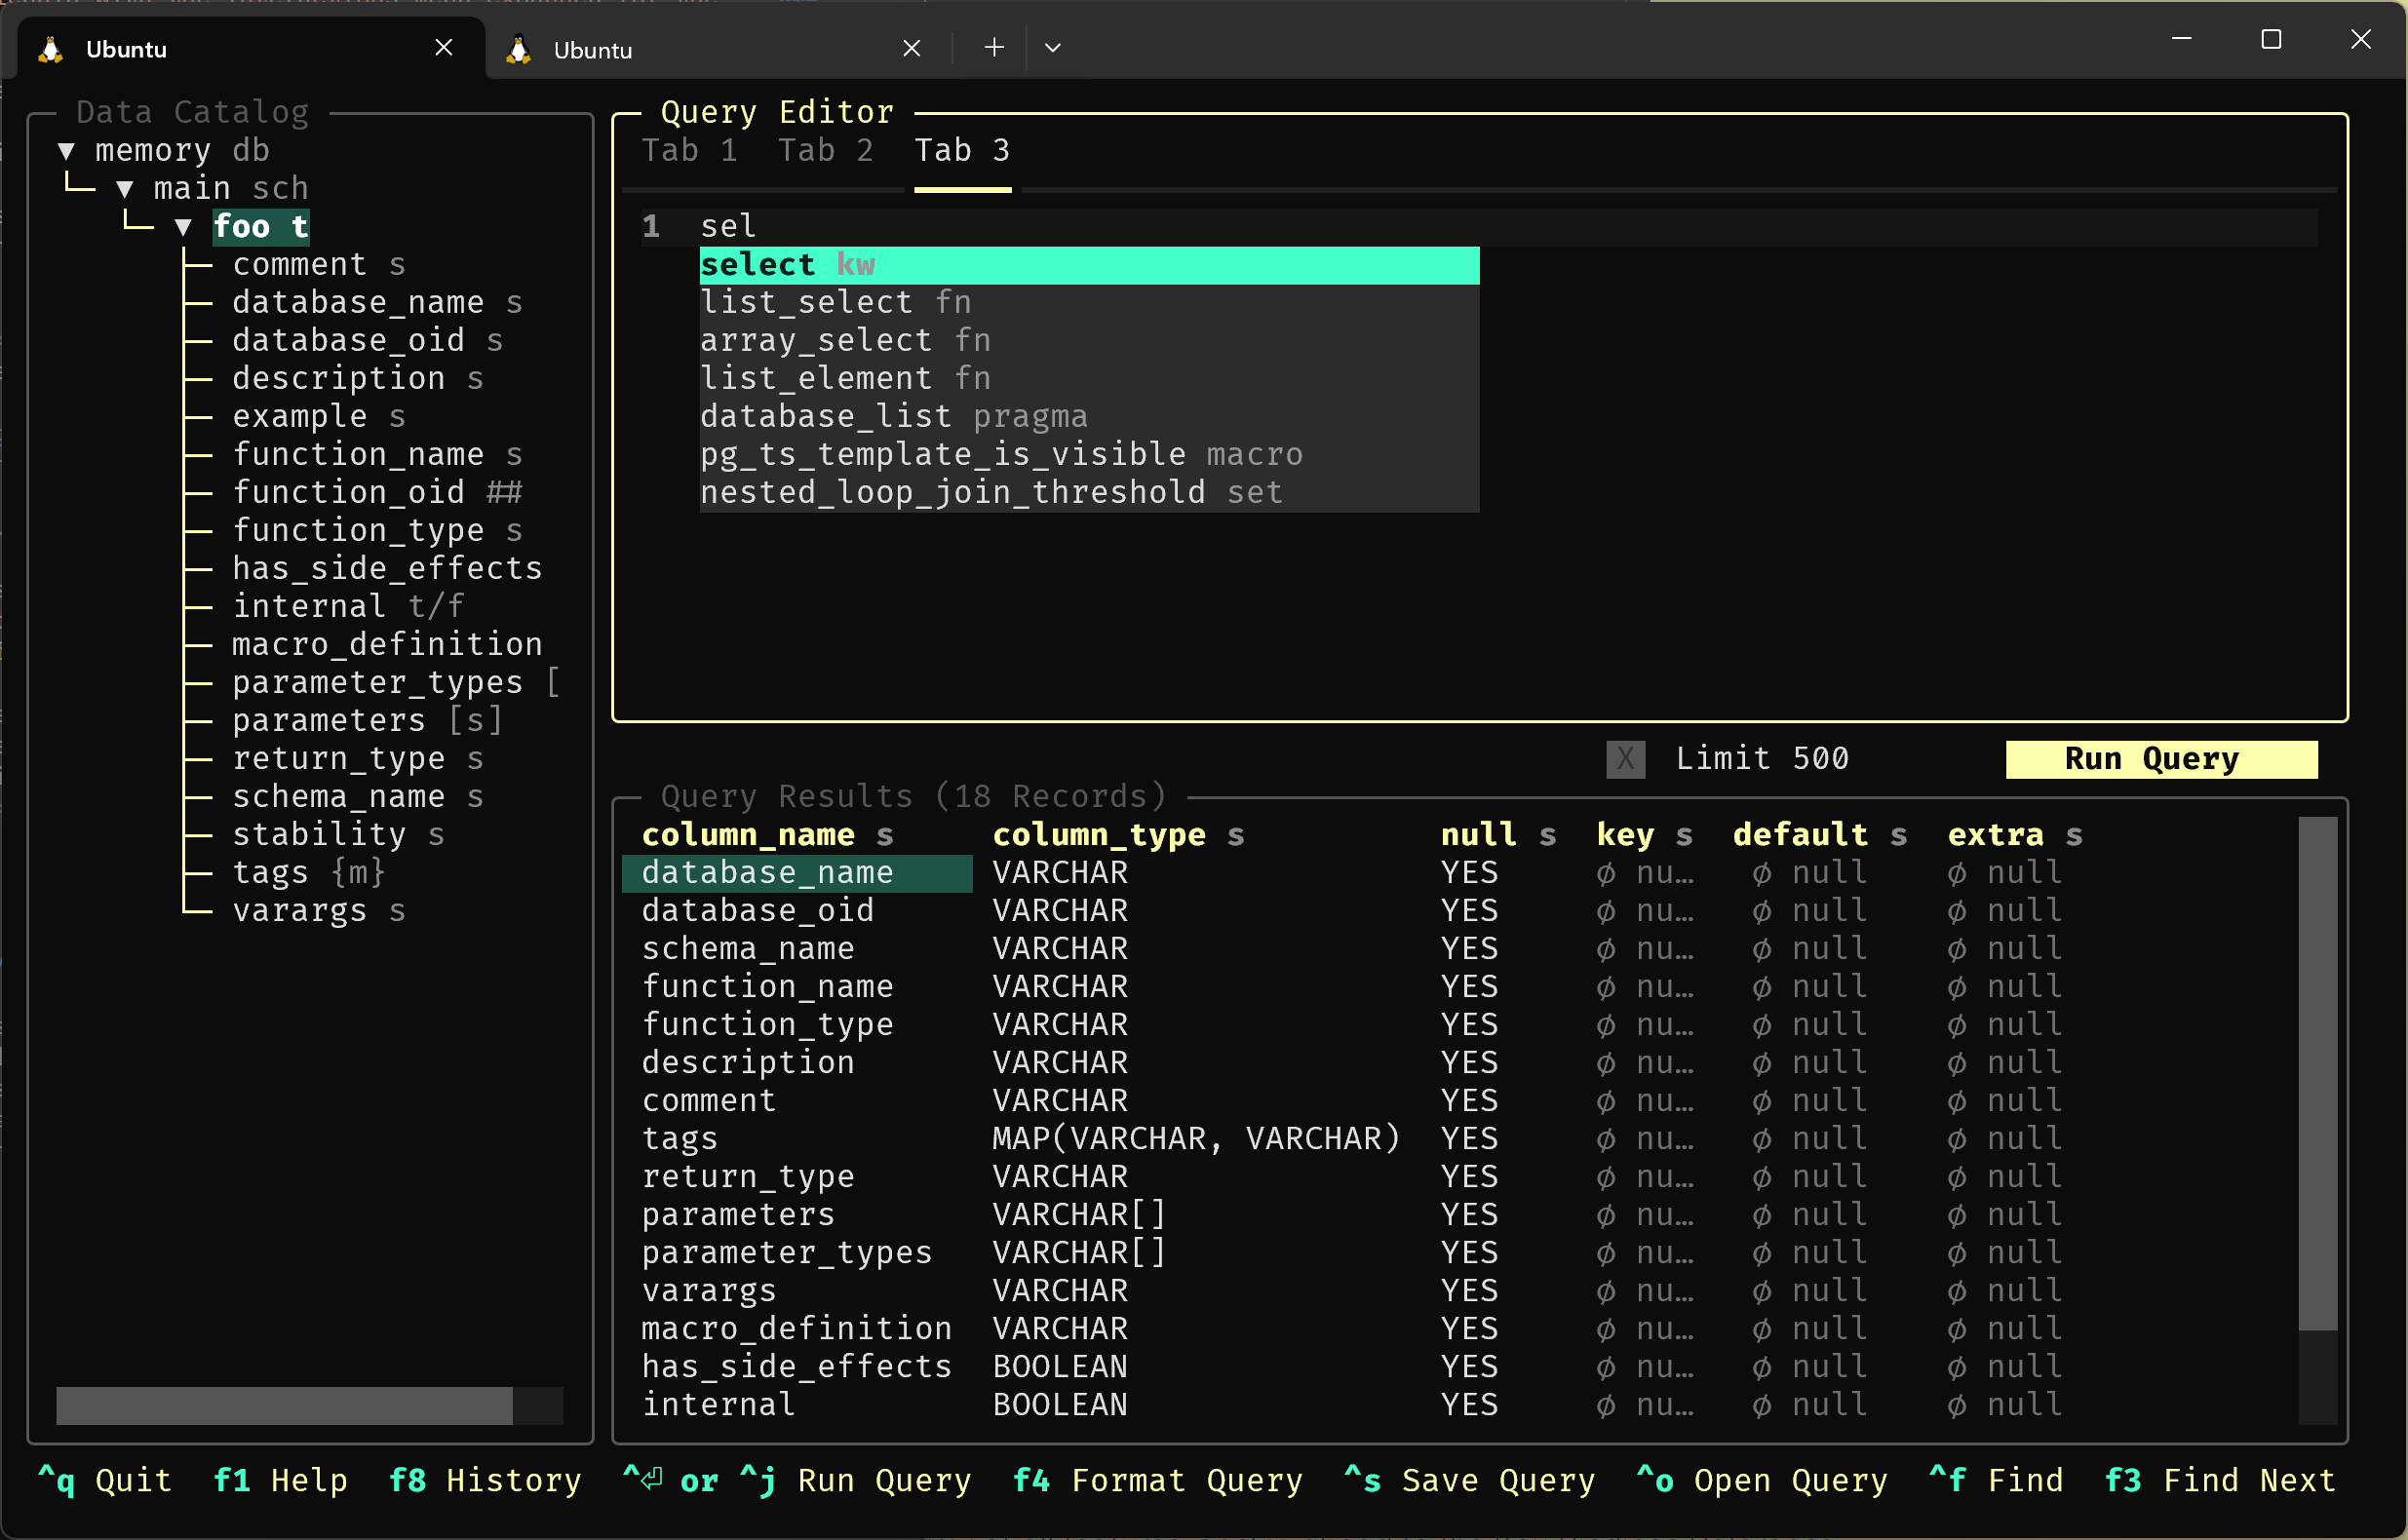
You can use the arrow keys to select different options, and then press tab or enter to accept the completion.
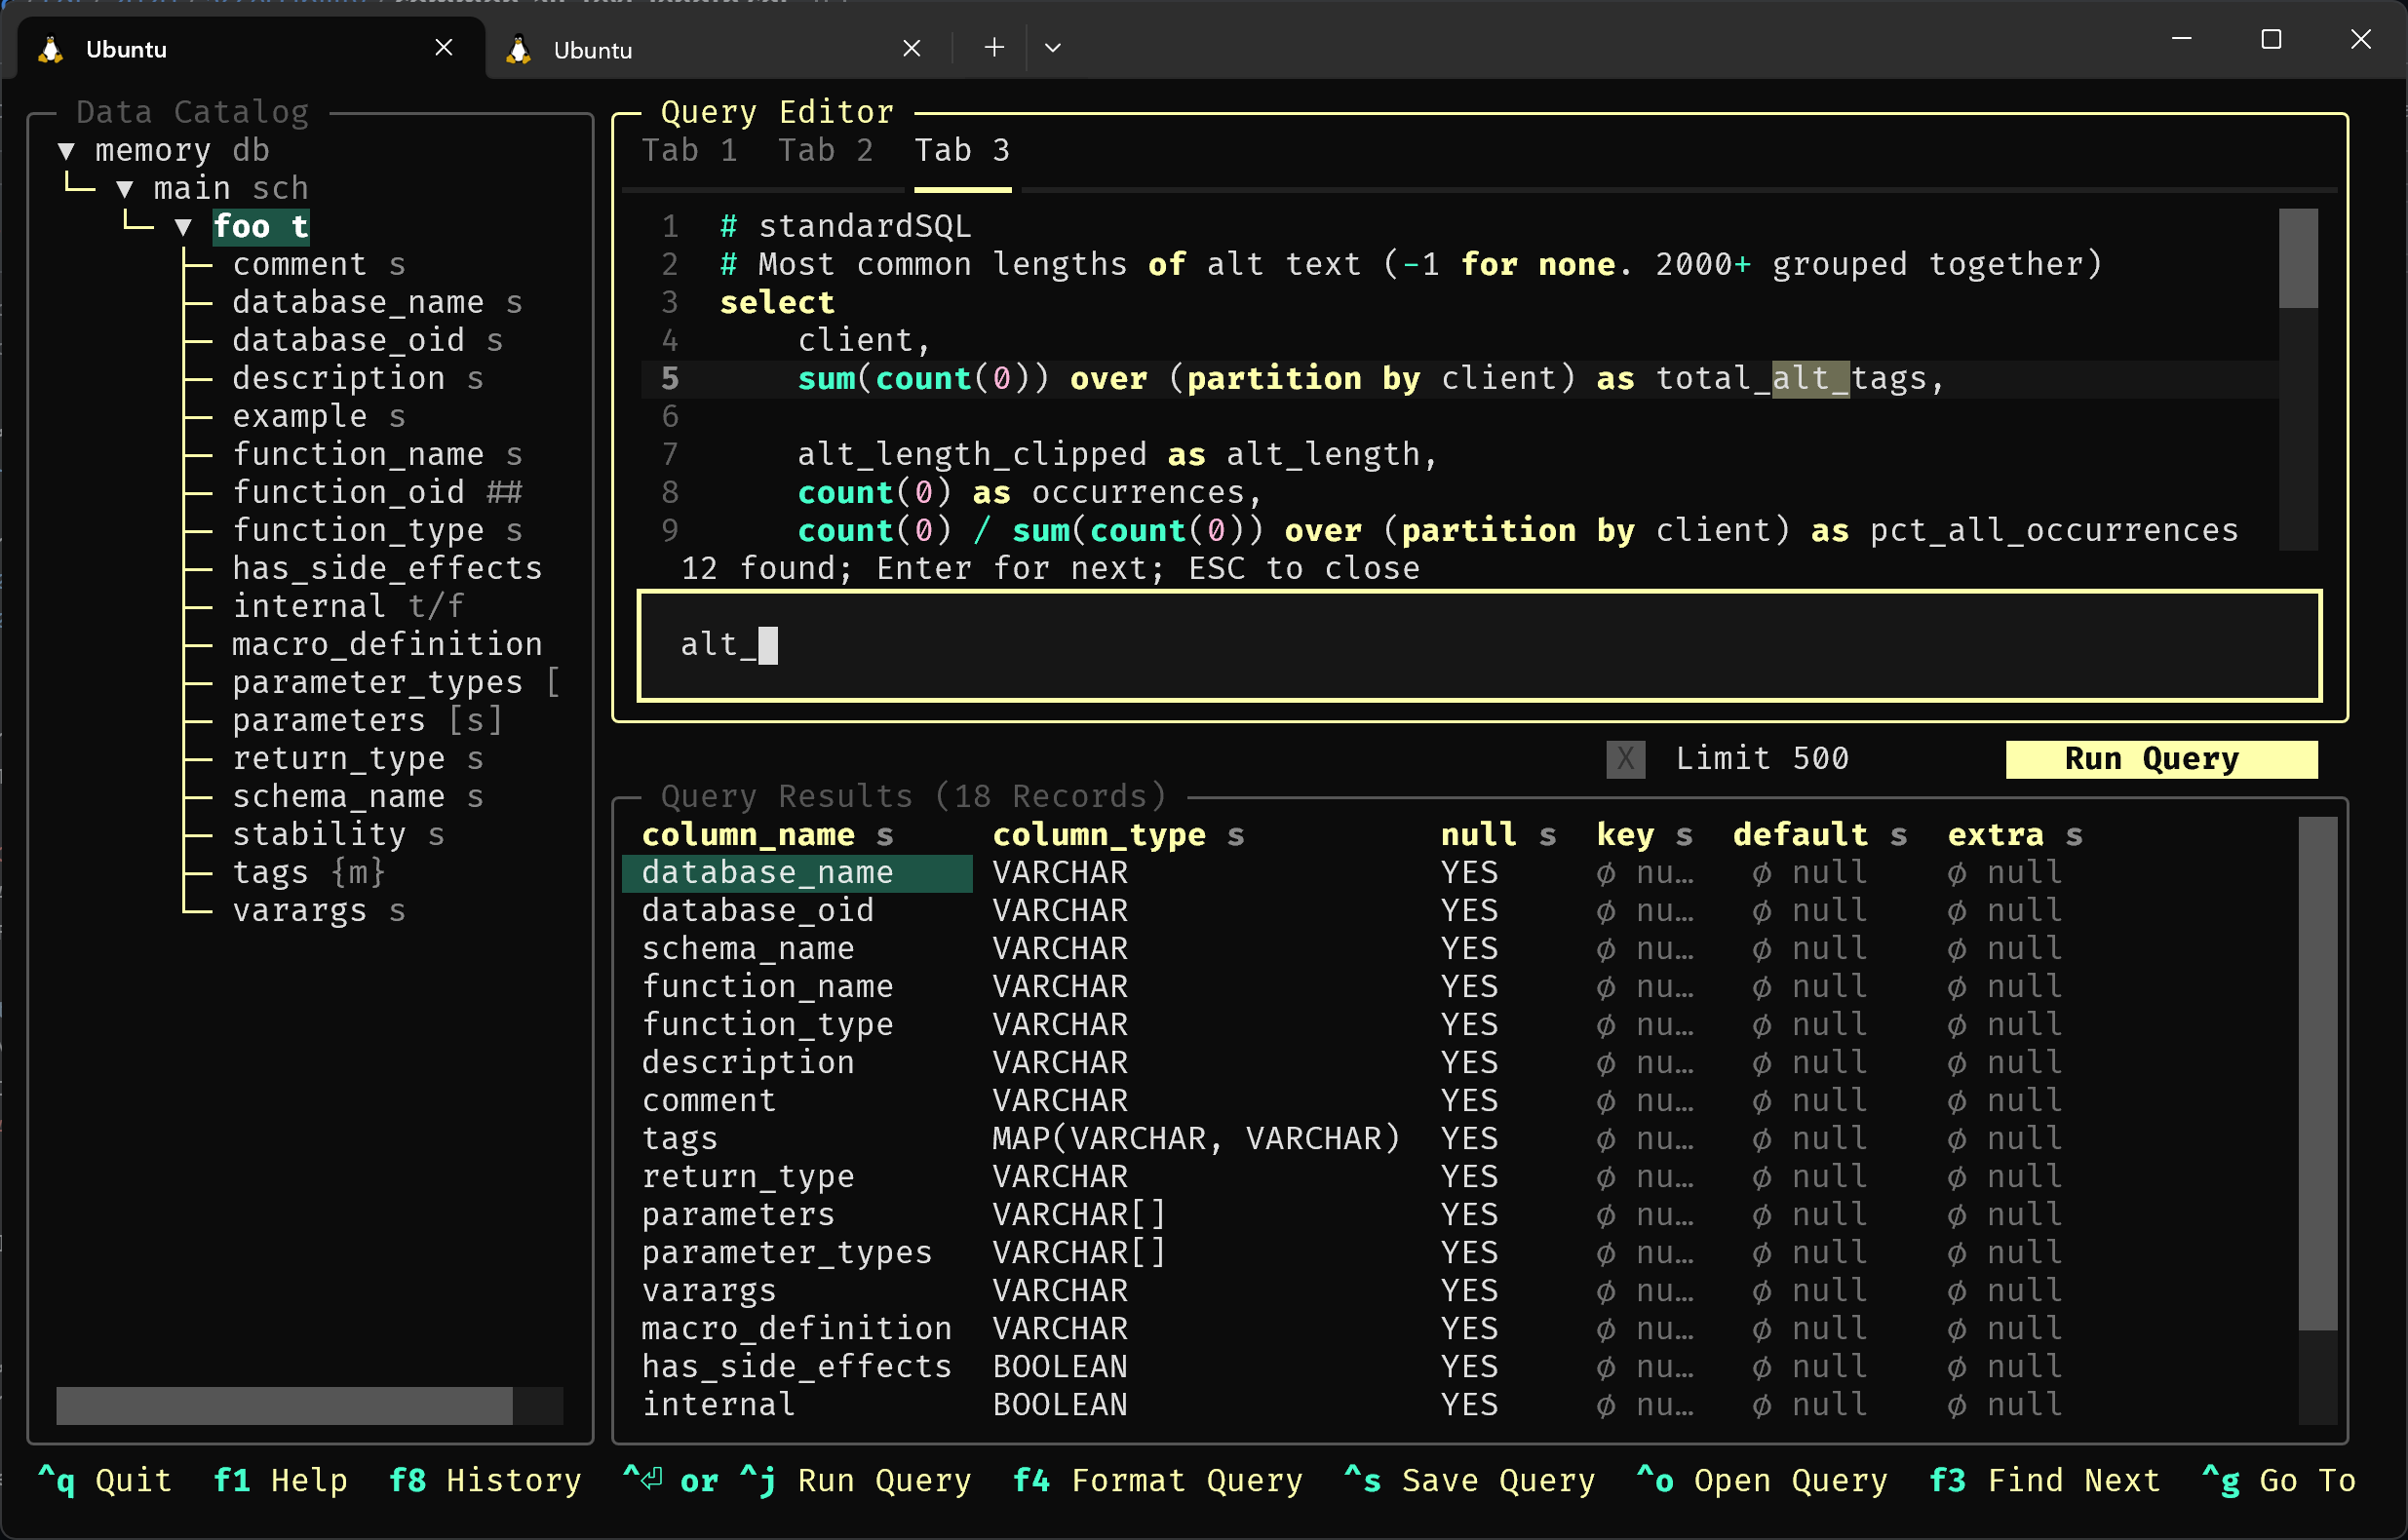
Keep typing if you want, or press ctrl+o to open a text file in the Query Editor.
TipFormat the file you just opened by pressing F4.
It’s a long query, but you can use ctrl+f to find a keyword or ctrl+g to go to a line.
When you’re finished editing the query, you can use ctrl+s to save it back to disk.
Now you know the basics, but there is One More Thing: you quit Harlequin using ctrl+q.
More Features
This was just a quick introduction to some of Harlequin’s features, but many more await. Keep reading these docs for an overview of all features, or skip ahead to the Key Bindings Reference for a cheat-sheet (and a hint of what is possible).